
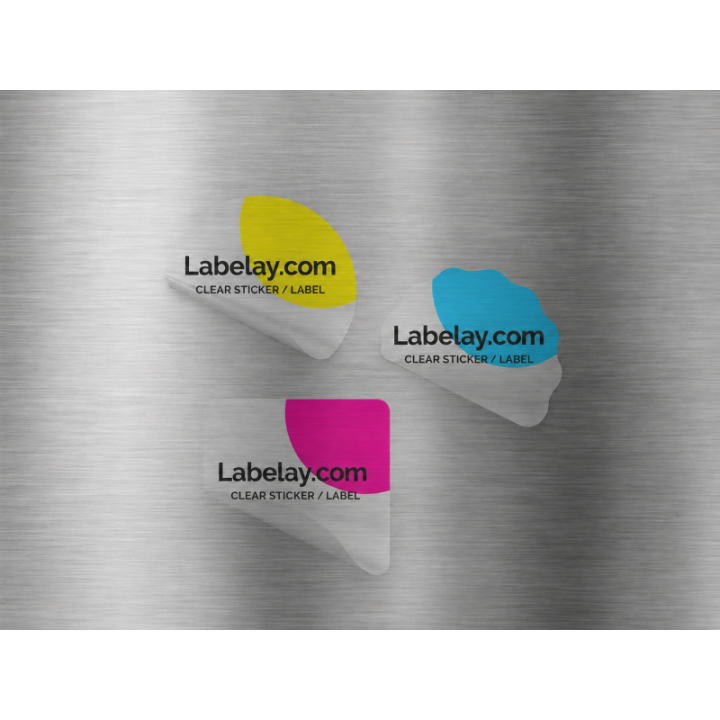
Refrigerated packaging is not difficult because the label is cold. It is difficult because cooling often brings condensation, repeated wet-dry cycles and more demanding handling. A label that looks perfect on a room-temperature bottle may behave differently after hours in a refrigerator.
For that reason, material choice should start with the actual use case. Film materials such as White Labels and Clear Labels are usually the more practical starting point when moisture is expected, while paper is better evaluated for drier applications.
Condensation is the main design condition
Moisture can form across the face of a cold package and around the label edges. The important question is whether that happens occasionally or every time the product moves between refrigeration and room temperature. Repeated exposure is more demanding than a single splash.
This is why generic claims like waterproof or water-resistant are not enough by themselves. Read our detailed guide to water exposure and test the complete package under the same conditions customers will experience.
Apply labels to clean, dry containers
Even a suitable material can perform poorly if it is applied over condensation, dust, oil or residue. The adhesive needs clean contact with the package surface. If possible, apply labels before the container becomes cold and wet, then allow the bond to establish before refrigeration.
Container material matters as well. Smooth glass and common plastics can behave differently from textured or coated surfaces. Small-diameter bottles add another variable because the label is constantly trying to flatten itself.
Clear or white film depends on the visual goal
Once film is the likely material family, choose between clear and white based on the package. Clear can keep beverages, sauces and cosmetic liquids visible. White provides a controlled background for color and small text.
On dark or colored bottles, clear material may need white ink behind important artwork. Review How White Ink Works on Clear Labels before finalizing the file.
Test before scaling quantity
A short real-world test can answer questions that a material name cannot. Apply the label to the production container, refrigerate it, let condensation form, handle it with wet hands and inspect the edges and text afterward.
If the package has unusual exposure, describe it through Request a Quote. For standard configurations, use Get an Instant Price after the material, size and finish are defined.
- Test the actual production container.
- Apply to a clean and dry surface.
- Include condensation in the test.
- Inspect edges, readability and overall appearance after repeated handling.
Turn the guide into a real specification.
Choose your material, size, shape, finish and quantity, then see the price before checkout.